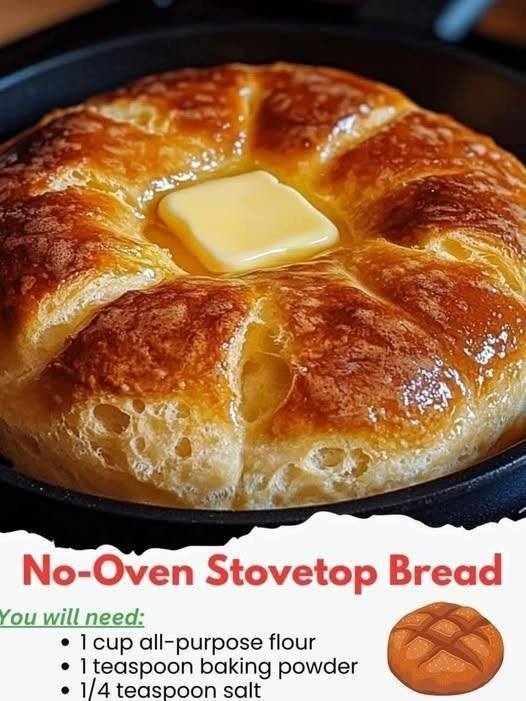
Here’s how to make no-oven stovetop bread:
🧾 Ingredients:
-
2 cups all-purpose flour
-
1 tablespoon baking powder
-
1 teaspoon salt
-
1 tablespoon sugar (optional, for slight sweetness)
-
2 tablespoons unsalted butter (melted)
-
¾ cup milk (or water, or any milk alternative)
-
2 tablespoons oil (vegetable or olive oil, for cooking)
👩🍳 Instructions:
1. Prepare the Dough:
-
In a large bowl, whisk together the flour, baking powder, salt, and sugar (if using).
-
Add the melted butter and milk (or water). Stir everything together until a soft dough forms. You might need to adjust the amount of milk slightly, depending on your flour type, so add a little at a time until the dough is moist but not sticky.
-
Knead the dough gently for about 2-3 minutes until it becomes smooth. If the dough is too sticky, add a bit more flour.
2. Shape the Dough:
-
Divide the dough into 2 equal portions. Roll each portion into a ball and then flatten each ball into a round or oval shape, about 1 inch thick. You can also shape it into a small, personal-sized loaf if you prefer.
3. Cook the Bread:
-
Heat a non-stick skillet or a cast-iron pan over medium-low heat. Add 1-2 tablespoons of oil to the pan and swirl to coat the bottom.
-
Place the flattened dough pieces into the hot pan, cover with a lid, and cook for about 4-5 minutes on the first side. The bread should have a nice golden-brown color when you check it.
-
Flip the bread over and cook the other side for another 3-4 minutes. You can press down lightly on the bread with a spatula to ensure even cooking and browning. The bread should be cooked through and lightly crisp on the outside.
4. Serve and Enjoy:
-
Once cooked, remove the bread from the pan and let it cool for a few minutes.
-
Slice it up and serve with butter, jam, or your favorite spread!
🌟 Tips and Variations:
-
Flavor Add-ins: You can add herbs (like rosemary or thyme), cheese, or garlic powder into the dough for extra flavor.
-
Thin or Thick: Adjust the thickness of the dough based on your preference. Thicker dough will result in a fluffier bread, while thinner dough gives a crisper texture.
-
Butter Brush: After cooking, brush the bread with a little melted butter for extra richness and flavor.
-
Storage: This bread is best eaten fresh, but if you have leftovers, wrap them tightly in plastic wrap or foil and store in an airtight container for up to 2 days. You can also freeze it for up to a month.
This no-oven stovetop bread is super versatile and a great way to enjoy fresh, homemade bread with minimal effort. Would you like any variations, such as a sweet version or one with a different texture? Let me know! 😊
